Plover for Stenographers
The process of writing shorthand is called stenography. Using a stenotype machine, you can type over 100 or even 200 words per minute.
This is a crash course
Here you’ll find links, resources, and tips to help you with learning stenography. For a proper introduction to stenography, see the Open steno project.
Stenography and Plover
Plover is the world's first free, open-source stenography program, which translates chorded key strokes into meaningful words.
Try steno online.
Practicing typing stenography
Typey Type is a typing app designed specifically to help stenography students learn steno faster. Learn briefs and improve your stenographic speed and accuracy using hundreds of practical lessons.
Why Learn Stenography?
- To communicate at conversational speed via text or synthesised voice.
- To efficiently record text from thought.
- To avoid pain from repetitive strain injuries.
- To type fast.
- For dictation.
See also: How to Speak with Your Fingers (Plover Blog).
Stenography for Coders
Stenography is an efficient method for editing text.
See also: Vim and Plover
Stenography for RSI
There are many ergonomic benefits to using stenography to write. Note: the Stenoboard uses keys rather than levers, which may reduce some of the ergonomic benefits of traditional stenotype machines.
Start Learning Stenography
- Buy a Georgi,
SOFT/HRUFor a Stenomod, or check out other steno machine options.Buy a stenoboard:- Set it up
- Note: Stenosaurus—great, though I'm sure it will be—does not exist yet. My wild, uninformed guess is that it's months or years away.
- Discover Plover:
- Install Plover.
- See also: Plover versions.
- Configure Plover.
- Important: the
*button is, essentially, Backspace (or undo previous stroke). - Start reading Learn Plover:
- If any "keys", briefs or commands are missing:
- Learn about dictionary management.
- Add missing briefs using one method below:
- See the latest dictionary in the Plover source (or the raw dictionary text from the Plover source).
- Add individual missing briefs to your dictionary:
- Search for briefs in an available online dictionary.
- Reload the default dictionary:
- Back up a copy of the dictionary.
- Delete the dictionary.
- Reload Plover to re-generate the dictionary.
- Try a different version of Plover.
- If anything else is odd, check out additional notes on Learn, Plover.
- If any "keys", briefs or commands are missing:
- Overview the reference info available.
- After reading Learn Plover, read Learn More Plover.
- Make it easy to learn new briefs and look up briefs:
- Try stenotray.
- Try using an Alfred tool.
- Try using an Automator workflow.
- Refer to Plover dictionary lookup for canonical, brief, and misstroke definitions.
- Practice typing drills with Typey Type.
- Practice drills (this is my update of Lars's interactive Plover, Learn!).
- Practice particularly tricky briefs.
- Practice sentences.
- Practice more sentences.
- Practice paragraphs.
- Practice with games.
- Explore the practice section of the wiki.
- Compete on TypeRacer.
- Join the active discussion group on Google Groups.
- Ask questions and post about your progress at the Aviary.
- Follow Mirabai or Plover, and Ted on Twitter.
Reference Info and Handy Links
- Plover dictionary lookup—includes canonical strokes, briefs, misstrokes, and other "types" of strokes for a given word.
- Plover dictionary lookup with condensed strokes—takes a little while to load up the dictionary.
- The Open Steno Project GitHub wiki guide to learning stenography.
- Plover blog.
- Learn Plover free, online book.
- Learn Plover Amazon paperback book.
- Practice typing drills with Typey Type.
- Plover, Learn! interactive drills.
- Plover Twitter.
- Plover Google Group—mostly discussing Plover development and features, but some gems of information.
- Plover quick reference guide.
- Lars Doucet's epic open journal.
- Briefpedia.
- Downloadable Steno Theories as EXE files.
- The Aviary—Forums for discussing Plover progress and dictionaries.
- Dictionary suggestions and explanations for briefs.
- Steno Keyboard Graphic Generator.
- StenoWiki for describing the Plover stenography theory—"If you've ever wondered, 'Why is that stroked this way?' or 'How was this brief constructed?', this wiki is for you!"—it's an incomplete, but useful resource.
- Word frequency lists:
- Random Plover user survey
Plover Versions
Recent versions can be found on the releases page.
The first full release in 2 years, Plover 3 holds many feature updates and bug fixes. Celebrate! \o/
The last official Plover version was released almost 2 years ago. There have been many excellent forks since then with varying features and support for new features from the main project. Try looking at these:
- Ted's recent build for OS X (Dropbox link) with one noticeable bug requiring you to click Plover in your dock after opening to use the UI (or create a keyboard shortcut to Plover and a brief that maps to that shortcut):
- Supports "Repeat stroke" (
{*+}), "Repeat with space" ({*?}), and "Repeat without space" ({*!}) commands, and others below. - Includes updated dictionary.
- Includes built in dictionary editor and lookup tools.
- Includes configurable space placement (spaces can be output before words or after words).
- Supports "Repeat stroke" (
- Mike Neale's Windows build of Plover Retro and Windows Plover Retro and Training (see also: Google Groups thread):
- Supports "Repeat stroke" (
{*+}), "Repeat with space" ({*?}), and "Repeat without space" ({*!}) commands. - Includes configurable space placement (spaces can be output before words or after words).
- Various training tools from Brent's fork.
- Supports "Repeat stroke" (
- Brent's fork with Brief/stroke trainer and typing speed? and StenoTray.
Dictionary Management
Note: some of the following strokes only work with particular versions of Plover.
There’s more detailed info about available Plover commands and how to set briefs for them on the Plover project dictionary format page. Here’s an overview of useful commands and suggested briefs:
- Learn the dictionary format
- Learn more about multiple dictionaries and different theories
"WUZ/WUZ": "{#}"does nothing, and is used to sink unwanted briefs"#": "{*+}",repeats the previous stroke"#*": "{*}",toggles the asterisk key on the previous stroke"S-P": "{^ ^}",produces a space"KPA": "{-|}",forces the first letter of the next word to be uppercase"HRO*ER": "{>}",forces the first letter of the next word to be lowercase{^ ^}inserts space without affecting case{^}suppresses a space without affecting case"TK*LS": "{^^}",removes a space without affecting case"KA*PD": "{*-|}",retrospectively capitalise/uppercase first letter"HRO*ERD": "{*>}",retrospectively lowercase first letter"*UPD": "{*<}",retrospectively uppercase all letters"AFPS": "{*?}",retrospectively inserts a space"TK-FPS": "{*!}",retrospectively remove space"KPA*EU": "{^}{<}",suppresses a space and forces the next letter to be uppercase"KPA*L": "{<}",uppercases the next word"KW-GS": "{~|\"^}",carries the capital letter across the next quotation mark"KR-GS": "{^~|\"}",carries the capital letter across the next quotation mark"PREPB": "{~|(^}",carries the capital letter across the next parenthesis"PR*EPB": "{^~|)}"carries the capital letter across the next parenthesis"HRO*ER": "{MODE:LOWER}",switches to lowercase mode so all letters are lowercase"K-BGS": "{MODE:CAMEL}",switches to camelCase mode so spaces are suppressed and subsequent words are capitalised"KA*PS": "{MODE:CAPS}",switches to all caps or uppercase mode so all letters are uppercase"KHRAO*ER": "{MODE:CLEAR}",clears all mode settings"KPHA*PLD": "{MODE:SET_SPACE:, }",sets a custom space mode that replaces all spaces with spaces (normal spacing—you can swap the space character for any character)"SPAO*EUPBL": "{MODE:LOWER} {MODE:SET_SPACE:-}",switches to lowercase mode and sets the spaces to hyphens for a kind of “spinal case”"STPHA*EUBG": "{MODE:SNAKE}",switches to snake case mode so all spaces are replaces with underscores"TAO*EULT": "{MODE:TITLE}",switches to title case mode so each word is capitalised"TPHO*EFP": "{MODE:SET_SPACE:}",sets to a custom space mode that replaces all spaces with nothing, suppressing spaces"R*EFT": "{MODE:RESET}",resets all case and spacing modes"R*EFTZ": "{MODE:RESET_CASE}",resets case modes"R*EFTZ": "{MODE:RESET_SPACE}",resets spacing modes- Using Plover to add a translation to a dictionary file will automatically sort your dictionary file alphabetically. If you like to use version control, be sure to commit a sorted dictionary before changing entries.
- In older versions of Plover, adding translations using Plover's "Add translation" command converted unicode characters such as ° to a unicode escape sequence:
"T*EGS": "\u02da",
Workarounds and Hacks
- Raw steno:
If you create a completely empty dictionary and get Plover to use that then no translations would be defined, so everything would be output as raw steno strokes.
—Google Group thread - Plover asterisk backspacing commands:
To add "weight" to a stroke, you can define it with n combo's of a letter and backspace pairs. Like, for return, you could define it as:
"R-R": "{^}a{#BackSpace Return}{^}{-|}",If you had a tab that needed 4 backspaces, you might do this:
"TA*BZ": "{^}aaaa{#BackSpace BackSpace BackSpace BackSpace Tab}{^}", - Use an AppleScript to access password fields on OS X: GitHub issue
Dictionaries & Briefs
- Latest dictionary in the Plover source
- StenoDict
- Backport dictionaries for older versions of Plover
- Modifier keys
- en_UK dictionary overrides
- en_AU dictionary companion to main Plover dictionary
- Git dictionary
- Various definitions of the return key—some with spacing, some with caps:
"R\*R": "{#Return}{^}{>}", "R-R": "{#Return}", "TPHEPBT": "{#Return}", "SKWRAEURBGS": "{#Return}{#Return}{^}{-|}", "SKWRAURBGS": "{#Return}{#Return}{^}{-|}", - Cheat sheet; particularly useful punctuation section
- Steno tips
- Two word briefs:
$ grep '"[^/ $]+": "[a-zA-Z]+ [a-zA-Z]+",' dict.json -E > two-words.txt - Force lowercase:
"TPHRO\*ER": "{>}", # Force LOwER - Redo without space (Space):
"SPA\*EUS": "{\*!}", # revert stroke, remove space, redo stroke - Redo with space (Break):
"PWRA\*EBG": "{\*?}", # revert the stroke, insert a space, redo the stroke
Forming Briefs
Your purpose in studying stenography will shape how you approach briefs as there are trade-offs to each approach. As a live captioner, accurately recording the speaker's words as well as other sounds may be important. As a writer, recording your thoughts as fast as you can think them may be important. If you have an injury, reducing strokes may be important.
- Do you need a conflict-free theory? Will the occasional word boundary error be worth the efficiency gains from more conflict-prone briefs? For captioning or CART, probably not.
- Do you need to stay on top of the speaker? If so, briefs for long phrases should be used with caution. See also: Google Group thread on multi-word briefs.
- If writing short with as few strokes as possible is the goal, consider phrase building. For example, (from Magnum theory) "I":
EU, "want":-PT, and "I want"EUPT. See also: Google Group thread on steno theories and phrase building.
Tips for creating briefs
Start by reading Designing briefs (Learn Plover book)
Briefs conflicting with prefixes and suffixes
When creating new briefs, check for existing prefixes and suffixes that you could use instead and check for prefixes and suffixes you should avoid using as beginning or ending strokes in your brief. That is, avoid creating briefs that use strokes currently employed for prefixes and suffixes.
Consider these suffix strokes:
"O*R": "{^or}",
"RAL": "{^ural}",
"HREU": "{^ly}",
… and these words:
"ABGT/O*R": "actor",
"O*R/RAL": "oral",
"RAL/HREU": "rally",
Now imagine you wanted to write this phrase:
actor rallyYou'd see:
act
actor
actorrural
actor rally
Success! Now imagine you wanted to write this phrase:
act oralYou'd see:
act
actor
actorrural
:( Now imagine you wanted to write this phrase:
act orallyYou'd see:
act
actor
actor rally
:( What to do? Consider these translations:
"OR": "or",
"AUR": "{or^}",
"O*R": "{^or}",
If you want to stroke the word "ordeal", you might use:
- The prefix
"AUR": "{or^}",and the word"TKAOEL": "deal",, or - A new brief combining the prefix or^ and the word "deal"
"AUR/TKAOEL": "ordeal",. - Both of these options preserve the phrase " or deal ".
If you want to stroke the word "oral", you might use:
- The prefix
"AUR": "{or^}",and the suffix"A*L": "{^al}",, - The word
"OR": "or",and the suffix"OR/A*L": "oral",, or - The phonetic brief
"ORL": "oral",. - All of these options preserve the phrase " or alligator ".
If you want to stroke the word "ordinary", you might use:
- A new brief combining the prefix
"AUR": "{or^}",and phonetic word partsTKEU/TPHAEUR":"AUR/TKEU/TPHAEUR": "ordinary",, or - Various phonetic briefs, such as
"OERD": "ordinary",. - You couldn't use the prefix
"AUR": "{or^}",and phonetic word partsTKEU/TPHAEUR"by themselves without an explicit brief because the strokesTKEU/TPHAEURdo not produce anything meaningful on their own (dinary). - If you created a brief combining the word
"OR": "or",and phonetic word partsTKEU/TPHAEUR"into"OR/TKEU/TPHAEUR": "ordinary",you would cause word boundary errors in the phrase "or did I narrate?", producing only "ordinary rate?".
Understanding prefixes
Let’s examine the word “dispense”, stroked TKEUS/PEPBS. As a word starting with “dis-”, you might think to use the prefix stroke: "TKEUZ": "{dis^}". Using that prefix, however, will result in the misspelled word “dispens”—Plover prepends the “dis” prefix to the word “pens”. This is why the translation TKEUS/PEPBS exists instead.
For this reason, in the default Plover dictionary you won’t find many strokes beginning with TKEUZ/. If you wanted to write “disable”, you could use the entry "TKEUS/AEUBL": "disable", or add the “dis^” prefix to “able”: TKEUZ/AEUBL. The translations starting with TKEUS/ are usually included to handle misstrokes and to avoid the confusion of remembering whether a word should be stroked using TKEUS or TKEUZ.
For the same reason, you’ll find SUB strokes for many words starting with “sub” in the default Plover dictionary. Some of those are misstrokes for the prefix SAUB and subsequent root word, while others are words starting with “sub” that only form sensible words with “sub” included.
So, remember you can form words using prefixes that may not need their own dictionary entries, and not all words starting with common beginnings are actually using prefixes.
When to add a brief for word endings
When adding a suffix to a word, you don't need a dedicated brief unless adding the suffix changes the previously stroked letters. For example, a brief including /HREU is necessary for "emptily", but not for "avariciously":
"EFRP/TEU": "empty",
"EFRP/TEU/HREU": "emptily",
"A*F/REURB/OUS": "avaricious",
You might, however, explicitly add the brief "A*F/REURB/OUS/HREU": "avariciously", for your preferred brief to stroke the word so that it appears when doing a word lookup while you're still learning.
Note: Plover has a built-in American word list and, if a brief is missing, will attempt to match a stroke with that list. So in the case above, if "EFRP/TEU/HREU": "emptily", were missing from your dictionary, Plover would still turn EFRP/TEU/HREU into "emptily".
-RBGS for fingerspelling and commas
-RBGS is sometimes used for fingerspelling. To cut back 1 stroke in 3-letter acronyms, you might use "TK-RBGS/PH*Z": "DMZ", to fingerspell D and add MZ. To create a brief for a word shorter than the phonetic stroke itself, you can add -RBGS (but you should also consider fingerspelling the word).
The -RBGS stroke part is also used to append commas to words. As such, some phonetic briefs unintuitively require an asterisk to stroke the bare word and ditch the asterisk to write it using a comma. Coincidentally, these phrases are often followed by commas anyway:
"O*ERBGS": "oh",
"OERBGS": "oh{,}",
"A*ERBGS": "ah",
"AERBGS": "ah{,}",
"HAO*EU": "hi",
"HEURBGS": "hi{,}",
-RBGS may be used to "finish" a word with a comma. For example, consider:
"PR*ERB": "pressure",
"PR*ERB/-RBGS": "pressure{,}",
"PR*ERB/KAOBG/*ER": "pressure cooker",
To avoid word boundary errors, you might append -RBGS to shorter briefs to declare them finished words. For example, consider:
"PWRAUPB/-RBGS": "brawn",
"PWRAUPB/KWREU": "brawny",
"PWRAUPB/TPH*EU": "brawny",
"PWRAUPB/TPH*EU/*PBS": "brawniness",
You might find instead that a brief like "TK-LS": "{^^}", to finish a word is more reliable.
Repeat strokes
Repeat the main brief's strokes to capitalise the brief (or consider the "retrospectively uppercase first letter" stroke), for example:
"SR\*EUPL": "vim",
"SR\*EUPL/SR\*EUPL": "Vim",
To write the word repeatedly, you'd just keep tapping the stroke:
vim
Vim
vim vim
Cycle through briefs with repeated strokes, eg:
"SKWRAP/KAT": "\uff08\u03a6\u03c9\u03a6\uff09",
"SKWRAP/KAT/KAT": "(\u225a\u110c\u225a)\u2112\u2134\u0475\u212f\u2764",
"SKWRAP/KAT/KAT/KAT": "( =\u2460\u03c9\u2460=)",
Star last stroke
Star the last item for a command, for example:
"TKEUBGS/REU/TEPL/PHRA\*EUT": "{^}\\{\n\"\": \"\",\n\"{}\": \"\\{\\}\"\n\\}",
Star the last item for a variation. For example, to write "em dash" you might stroke:
"EPB/TKARB": "em dash",… and to write an — character, you add an asterisk to the final stroke in the phrase:
"EPB/TKA*RB": "\u2013",Steno Machine Options
- Supported hardware according to the Plover wiki
- Stenoboard—as close as you can currently get to buying a steno machine "off the shelf" with minimal assembly, at a reasonable price. The key switches are quite stiff.
- Soft/HRUF
- Stenomod
- Planck Ortholinear Keyboard—read more below. If you have the time and patience, this is an excellent option, both affordable and comfortable. It's infrequently available for sale, can take a while to ship, and requires assembly, but may be for sale pre-assembled via ebay or mechanical keyboard community marketplace. This is my preferred option.
- Ergodox—read about Plover users' experiences with Ergodox (see also: configuration), which requires... custom switches, keycaps, and firmware... and there are shipping complications? Maybe?
- True N-key rollover keyboards with steno key tops (and custom firmware?) can be made into steno boards.
- Stenotype machines.
- Stenosaurus holding page.
Steno try before you buy options
The process of writing shorthand is called stenography. Using a stenotype machine, you can easily type over 100 or even 200 words per minute. Using steno, you can efficiently record text from thought, avoid pain from repetitive strain injuries, type fast, dictate, and communicate at conversational speed via text or synthesised voice. For those of you, or your friends, that would like to try steno, but aren’t ready to invest in an expensive steno machine or a playfully fragile open-source alternative, here’s what you can do …
1. Interactive steno demo
This interactive steno demo works with regular QWERTY keyboards on regular browsers with no installation needed, so you can start playing with it immediately. The big limitation is that you can only send a few key strokes at a time rather than the 6 or more needed for the full vocabulary of steno words.
2. Mac’s Karabiner Engelbart key remapping
Karabiner is a keyboard customiser that lets you remap keys to more comfortably perform more powerful operations. For example, use Vi anywhere or stop accidentally closing applications by requiring ⌘Q to be double tapped. Using Karabiner’s Engelbart settings, inspired by computer pioneer Douglas Engelbart’s projects, you can try chorded keyboard behaviour. That is, by simultaneously pressing keys together, they can perform different actions to their defaults. For example, I use simultaneous "x" + "c" together for a more comfortable Escape key. Karabiner can let you play with a chorded style of keyboard use to see if that’s a more pleasant approach, before upgrading to steno.
Note: It doesn't look like this feature is available on modern Mac devices.
3. Arpeggiate any keyboard
Plover is the world’s first free, open-source stenography program, which translates chorded key strokes from your normal computer keyboard into meaningful words. Its “Arpeggiate” setting allows using non-NKRO keyboards (most normal keyboards). Each key can be pressed separately using the space bar to send the stroke.
Flashing Ergodox or Planck for Stenography
One option for trying out stenography is to use any NKRO keyboard with a grid key layout (that is, the keys line up neatly instead of being staggered diagonally), such as the Ergodox. For a full guide, check out this blog post, Stenography adventures with Plover and the Ergodox EZ. The short version—if you know your way about hardware—you can flash an ergodox using this GUI tool from Input Club Keyboard, add the steno key layout to the home row, and make it behave like a steno machine. To build the steno key layout, try their Configurator. Remember to make sure every layer has a Flash key. Layer switching keys are handy too.
Plover on Planck
There are lots of options for steno machines, including relatively cost effective choices such as the Planck Ortholinear Keyboard (when it’s available). Here is the keymap firmware I needed to enable NKRO for the Plover layer.

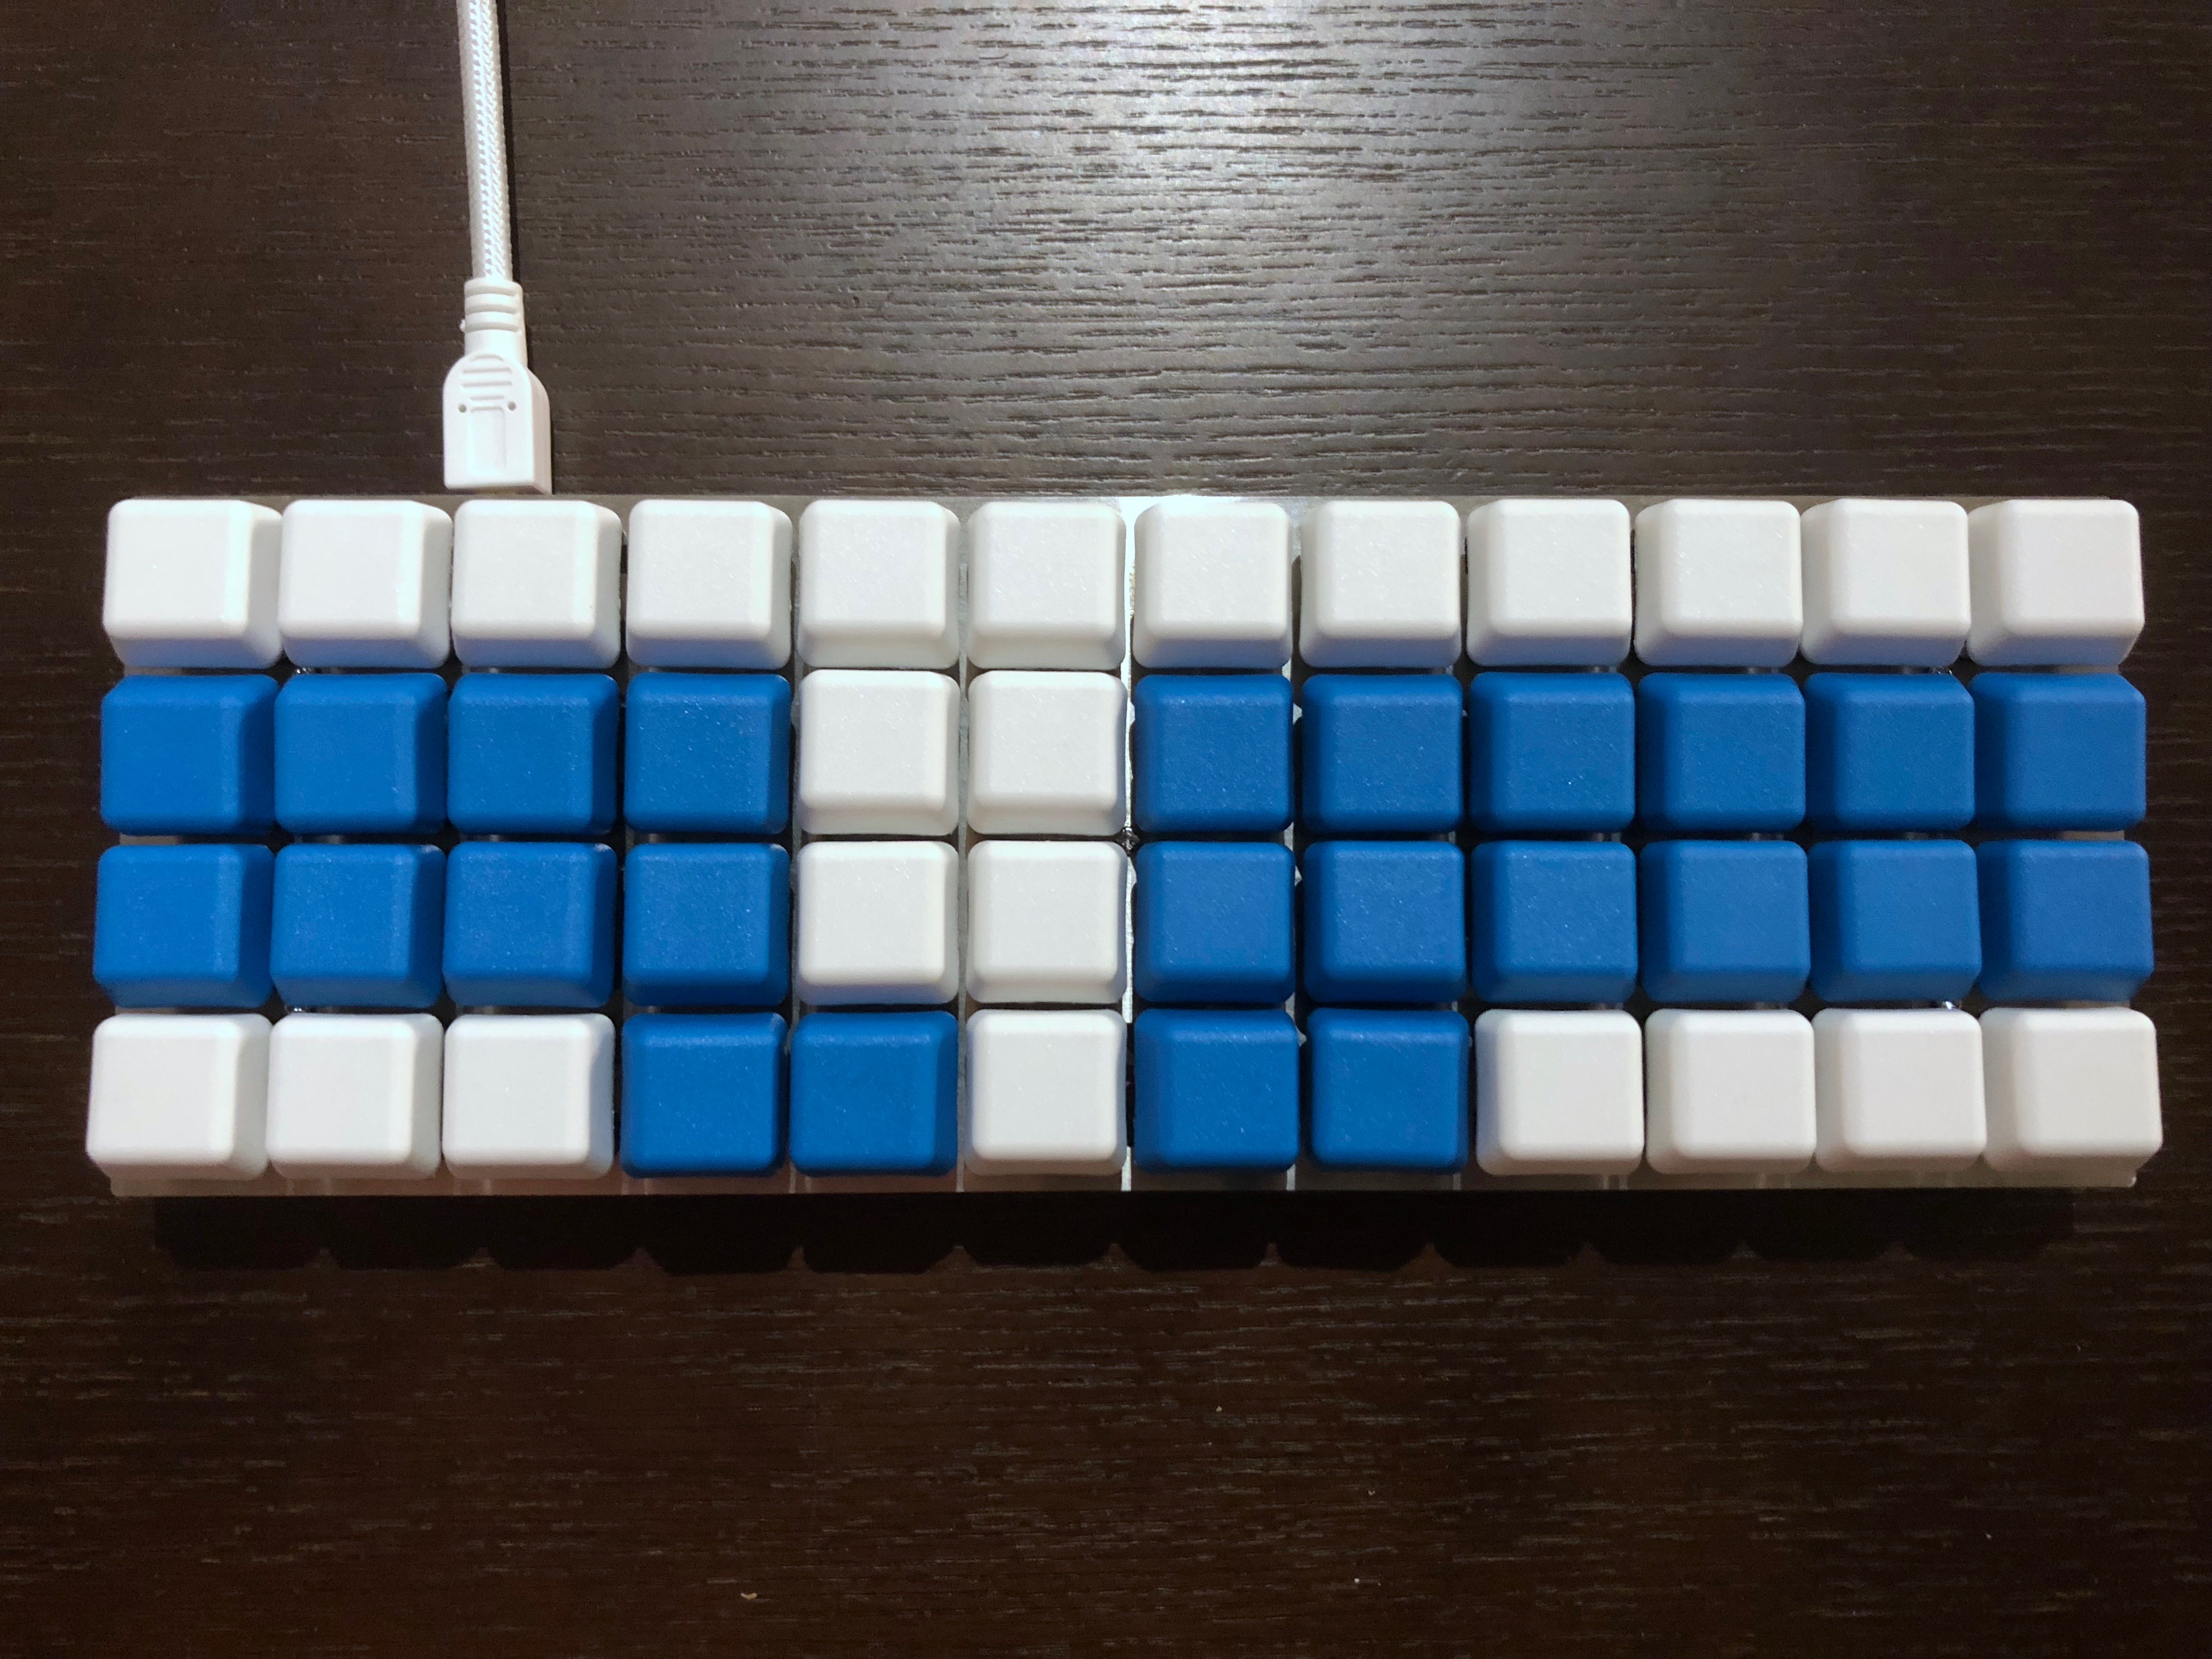
My old Planck stenoboard
It’s a narrow board. Without the split board that I am used to, writing feels cramped and hurts my wrists, so I made an adjustment to the default Plover layer in the firmware to move the Plover keys to the outer edges of the available keys on the board. This has eased the discomfort somewhat, so I recommend making that tweak. This does make me wonder how people using it for QWERTY typing feel. Similarly, I also moved the vowels closer to each other so that the thumbs can comfortably spread out in a more neutral position for my hands. It would probably be better for them to be lower as well, as with most steno machines, but it’s less restrictive overall on my writing than the UTOPEN Stenoboard, which has far stiffer keys due to its choice of key switches.
My new Planck stenoboard with updated layout
It’s portable. Unlike my previous steno machines, this can be comfortably held in one hand or placed safely inside a box without extraneous cables or general bulk. It’s tiny by comparison!
Using G20 blank key caps turned around in places so that they fit snugly together, writing on this board is easy—I’ve had no issues with stroking any words. Some people find issues using staggered (regular) keyboard layouts rather than ortholinear (gridded) keyboards, or narrow and curved key caps, because the tops don’t fit together well enough to press keys simultaneously.
Finger Positioning and Posture
Use the finger tips rather than finger pads, with your fingers curled. See also: Key demo for finger placement.
Straighten out free, idle fingers during a stroke. This may help you avoid mashing extra keys accidentally. As a paraphrased example from the Plover Google Group, imagine the word "vicious", which is stroked SREURBS. Flatten and lift your ring finger to avoid pressing -L or -G during the stroke. Watch this video for a demonstration.
QWERTY Keys and Layout
- Default QWERTY keys available on Stenoboard:
33
qwer tt uiop[
asdf gg jkl;'
cvnm
Vim and Plover
At the time of writing, Plover has no capacity for key repeat. That is, holding down a key on a QWERTY keyboard will type it repeatedly. In contrast, holding down a stroke with Plover will do nothing until it's released. Therefore, to type something repeatedly with Plover you need to stroke it repeatedly (or repeatedly stroke the repeat stroke command). As such, tasks like moving your cursor down several lines using an arrow key like you would on a QWERTY keyboard becomes challenging and tiring. Vim’s modal editing makes this easier, for example, letting you write “4j” or 4/SKWR* to arrow down 4 times.
Similarly, Vim is designed for efficient typing and is conceptually a natural fit for using with stenography.
Here are some dictionary entries for using the Vim text editor. For more comprehensive details and up-to-date briefs, see my Vim dictionary.
Generally, for your left hand the briefs contain SR => V for Vim. They also include TP, which is based on TPH => M, but drops the H for reasons of convenience and avoiding dictionary conflicts. Ideally, together they’d form the word Vim, but instead it’s Vif. Oh well.
To move around in Vim, combine SR => V and STP used in regular arrow navigation strokes, and for your right hand, use Vim-style home row keys for Vim’s “hjkl”:
“STPR*”: “{>}{^h^}“,“STPR-B”: “{>}{^k^}“,“STPR-G”: “{>}{^l^}“,“STPR-R”: “{>}{^j^}“,
STPROEUFRL => VPLOVERL for Vim Plover Lookup to yank the previous word to the system clipboard * and perform a Plover lookup:
"STPROEUFRL": "{#Escape}{^\"^}{^*^}{^y^}{^i^}{^w^}{PLOVER:LOOKUP},
Here’s the variation I use that includes my own QWERTY keyboard shortcut for my steno lookup tool:
"STPROEUFRL": "{#Escape}{^\"^}{^*^}{^y^}{^i^}{^w^}{#Control_L(Alt_L(Shift_L(Super_L(s))))}",
Enter command mode using the left-hand Vim part—SR => V for Vim—and the right-hand part of the standard colon brief STPH-FPLT:
"STPR-FPLT": "{#Escape}:{^}",
Unspaced Tilde for capitalisation:
"T*EULD": "{^}~{^}",
Unspaced dollar to jump to the end of a line:
"TPHRORB": "{^}${^}",
For a “;” leader key, use an unspaced semicolon SKHR-PB => SKLN => semicolon, mimicking the brief style of an unspaced colon KHR-PB => KLN => colon:
"SKHR-PB": "{^};{^}",
Additional Notes on Learn Plover
egrepuses extended regular expressions and can be used instead ofgrepto search for suffixes or prefixes on a Mac.- Hundreds: If you want to add a double zero to a single digit number, you can use the
#OZstroke after the number. For example, stroking '100' as#S/#OZ, or you could include theZkey in your stroke as#SZ. *Soccasionally makes a "st" sound when "ft" is unavailable.HROFTwrites "loft" whileHRO*Swrites "lost".- Long vowels:
- Long "a" sound =
A+ vowel keys on the other side - Long "e" sound =
E+ vowel keys on the other side - Long "u" sound =
U+ vowel keys on the other side - Long "i" sound =
EU=>I+ vowel keys on the other side - Long "o" sound =
O+E
- Long "a" sound =
Learn More Plover
Your First Briefs
- Your name
- Your email address
- Names of people you address frequently
- Plover commands
- Computer commands such as navigating with arrows, switching apps, copy/paste, escape key, undo, launchers (Alfred, spotlight), forward delete
- Steno dictionary look up tool shortcut
Miscellaneous
History of the #{FLUSH} command
Q: What is the meaning of the FLUSH definition TPHR-RB and THR-RB? Is it a command stroke for Plover?
A: Great question. That stroke is actually a big reason why Plover exists, though fortunately it's not a stroke that we need to implement in Plover, and it can safely be taken out of the Plover dictionary. Basically, all proprietary steno software uses a time-based buffer, which means that the strokes aren't released to the OS until a specified amount of time has passed. You can change the length of this buffer manually, but if you set it any shorter than 1.5 seconds or so, you're at risk of seeing split strokes -- like KAT/HROG being translated as "cat log" instead of "catalogue". So I have to keep my stroke timer set to 1.5 seconds, but because my CART clients don't like having to wait 1.5 seconds to see each stroke displayed, I have to manually flush the buffer by invoking the {FLUSH} definition every time there's the slightest pause in the flow of speech. According to my steno software's dictionary editor, I've used the {FLUSH} stroke about 100,000 times. That's 100,000 wasted keystrokes. It's maddening. One of the biggest advantages Plover has over all the $4,000 software out there is that it uses a length-based buffer rather than a time-based one, so the translations are released to the OS immediately, instead of after an arbitrary delay. It's also the reason Plover can actually interact with the OS in a meaningful way, beyond just text entry. 1.5 seconds may not seem like much, but imagine having to wait 1.5 seconds after delivering any command, from Enter to Backspace to Alt-Tab (most proprietary software can't even send Alt-Tab as a command, but never mind...); it's horrendously frustrating and completely unworkable. The time-based buffer has kept all proprietary steno software subfunctional for decades. Plover's the only steno program I've ever seen that doesn't have this problem. The difference is nothing short of staggering.
—https://groups.google.com/d/msg/ploversteno/hHs_Cfaqcis/76KHLwbALukJ
Redo with Space. Redo without Space.
- Type very nearly and get first "very" followed by "venereal"? Happened to me. If you have a stroke defined as
{*?}it will delete the stroke, insert a space, and repeat the stroke, so you actually get out "very nearly".- Have you tried three times to get "everyone" but you only found three different ways to get "every one"? If you don’t want to resort to spelling, a stroke defined as
{*!}will just remove the space. It works for any words, so you can turn "folks pizza" into "folkspizza".—
https://groups.google.com/d/topic/ploversteno/QdAW2IkX1pA/discussion